A DIY Wood Slat Wall is one of the most stylish and budget-friendly ways to give any room a modern, elegant touch. With a little creativity and basic tools, you can completely transform your living space into something special. Whether you want to make a bold statement in your living room, create a cozy vibe in your bedroom, or add visual texture to your hallway, a Diy wood slat wall is the perfect project. At SlatSolution, we believe that with the right guidance, anyone can master this simple yet impactful home upgrade.
Why a DIY Wood Slat Wall is a Great Project
A DIY Wood Slat Wall is incredibly versatile—it suits nearly every interior style, from Scandinavian minimalism to rustic farmhouse charm. The best part? It’s easy enough for beginners to do. You don’t need to be a professional carpenter or have an extensive tool collection. With proper planning, patience, and creativity, your DIY Wood Slat Wall can look just as stunning as a professionally installed feature.
Beyond looks, this project also offers practical benefits. A DIY Wood Slat Wall can help with sound absorption, hide wall imperfections, and add depth to your room. It’s also highly customizable—you can choose different woods, finishes, and layouts to perfectly match your home décor.
Beginner-Friendly DIY Wood Slat Wall Projects
1. The Classic Accent Wall
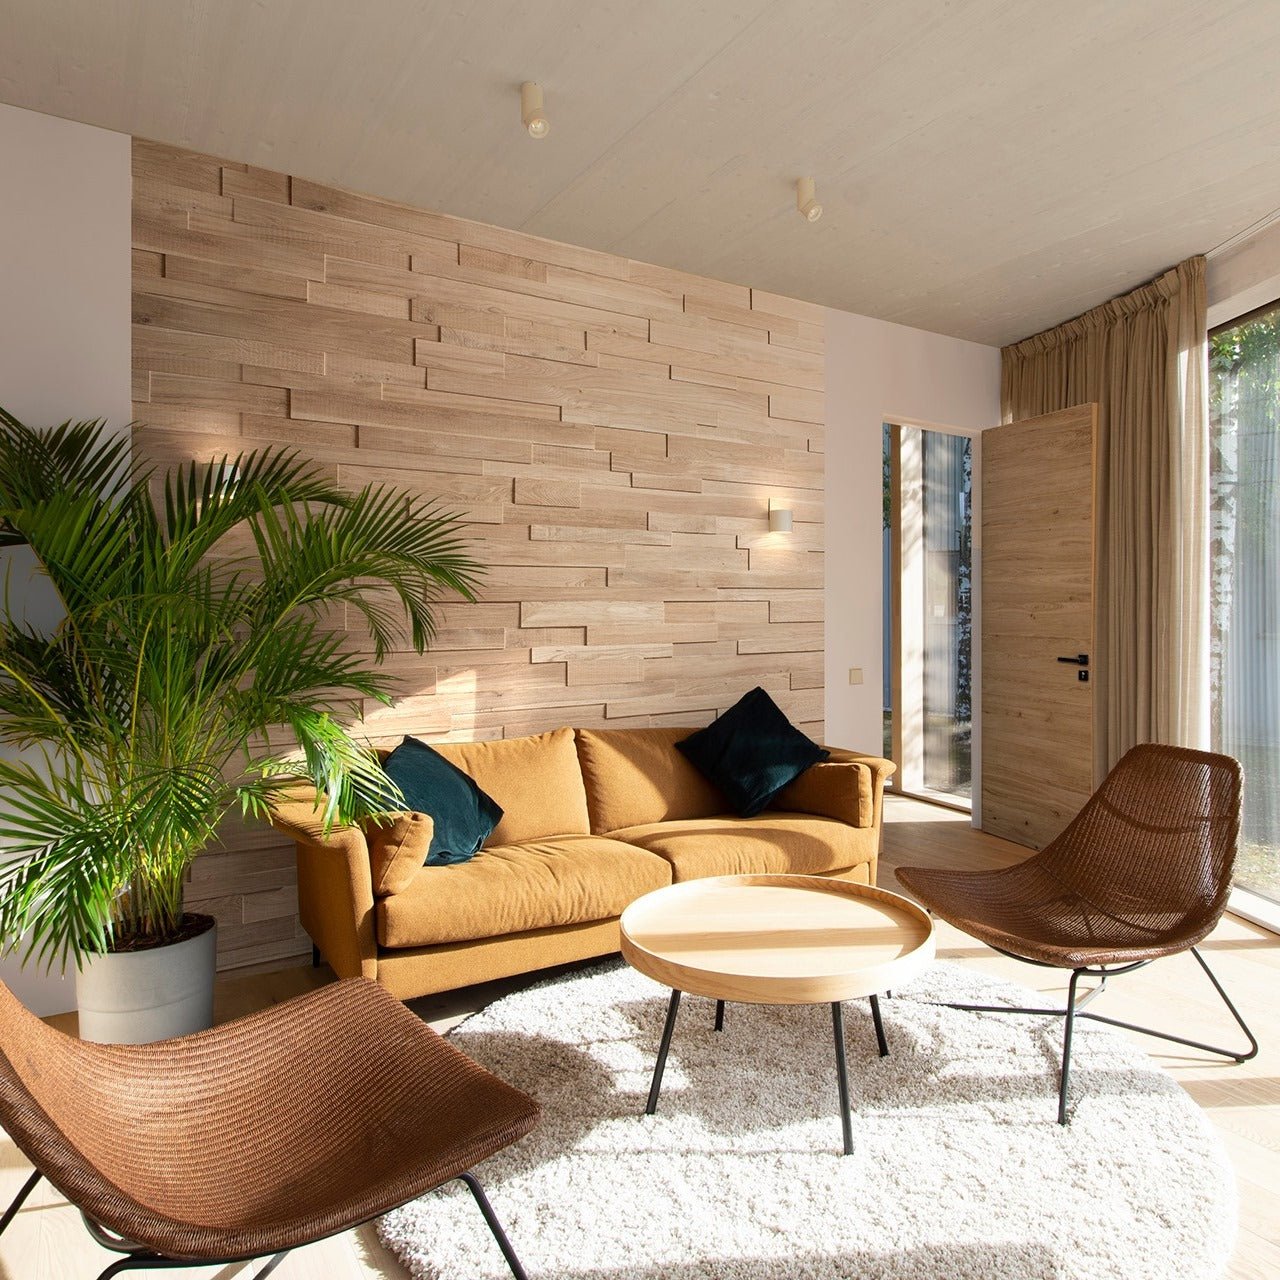
This is the most popular DIY Wood Slat Wall project—and for good reason. It’s simple, elegant, and instantly elevates any room. Choose one wall, preferably behind a sofa, TV, or bed, and install vertical or horizontal slats. Vertical slats add height to your space, while horizontal ones create a sense of width.
You can use affordable pine slats and stain them to your liking. If you want a more modern touch, paint them black or charcoal gray for a sleek, sophisticated finish. The result is a custom designer look that transforms your entire room.
2. Half-Wall Paneling
If you want something subtle yet stylish, try a half-height DIY Wood Slat Wall. This design works beautifully in entryways, dining areas, or hallways. It adds texture without overwhelming the space. Paint the upper wall a contrasting color for a chic, two-tone effect.
This type of DIY Wood Slat Wall is easy to achieve with fewer materials, making it ideal for smaller budgets or first-time DIYers.
3. Floating Divider Wall
Open-concept spaces can benefit from a slatted divider wall. This DIY Wood Slat Wall project helps define different areas—like separating your living and dining spaces—without completely closing them off.
Use wider spacing between slats to let in natural light while maintaining a sense of division. This approach adds architectural interest and a high-end, custom-built look to your home.
4. Bedroom Headboard Wall
Replace your traditional headboard with a DIY Wood Slat Wall that extends from the floor to the ceiling. This idea instantly gives your bedroom a luxurious, spa-like atmosphere. Choose warm, natural tones like oak or walnut for a cozy feel, or go bold with darker stains for a contemporary edge.
Add LED backlighting behind the slats for an extra layer of ambiance. It’s a simple upgrade that looks impressive and professional.
5. Ceiling Extension Design
For a dramatic statement, extend your DIY Wood Slat Wall onto the ceiling. This design trick draws the eye upward and makes the room feel larger. It’s perfect for creating a cohesive look in modern living rooms or home offices.
Although it requires a bit more precision, this DIY Wood Slat Wall project remains achievable with basic tools and careful planning.
Tips for a Successful DIY Wood Slat Wall
Choose Quality Materials
Select straight, smooth wood slats to ensure a neat finish. Pine, oak, or MDF are great options depending on your budget. At SlatSolution, we recommend pre-sanded or pre-finished slats for easier installation and a polished look.
Measure and Space Evenly
Accurate measurements are key to a professional result. Use spacers to maintain consistent gaps between each slat. Even small inconsistencies can stand out on a DIY Wood Slat Wall, so take your time aligning everything perfectly.
Prep and Paint Before Installation
It’s easier to paint or stain your slats before attaching them to the wall. Lay them flat, apply your chosen finish, and let them dry completely. This method saves time and gives your DIY Wood Slat Wall a cleaner look.
Use Adhesive and Nails Together
Combine strong construction adhesive with finishing nails for maximum hold. Adhesive prevents slats from shifting, while nails keep them securely attached to the studs. This ensures your DIY Wood Slat Wall remains stable and durable for years.
Creative Variations for Any Style
A DIY Wood Slat Wall can be as simple or artistic as you want. Try experimenting with these creative variations:
- Diagonal layout: Adds dynamic movement to the wall.
- Two-tone finish: Combine light and dark stains for contrast.
- Painted background: Use a dark wall color to make the slats pop.
- Curved slat installation: Ideal for modern, architectural spaces.
These ideas prove that your DIY Wood Slat Wall can be more than just decoration—it can become a statement piece in your home.
Maintenance and Care Tips
To keep your DIY Wood Slat Wall looking its best, dust it regularly using a microfiber cloth or duster. Avoid harsh cleaners that might damage the finish. For small scratches or marks, lightly sand and reapply your stain or sealant. With minimal maintenance, your DIY Wood Slat Wall will continue to look beautiful for years.
Conclusion
You don’t need advanced skills or expensive materials to create a stunning DIY Wood Slat Wall. With these beginner-friendly projects and expert tips from SlatSolution, anyone can achieve a professional, designer-quality look. From accent walls to custom dividers, each DIY Wood Slat Wall project adds warmth, texture, and personality to your home. So grab your tools, unleash your creativity, and start building your dream wall today—the perfect home transformation is just a few slats away.